Kubernetes the hard way
Setting up k8s from scratch
In order to learn more about kubernetes I decided to set up a cluster from scratch. The goal is to have a working cluster that I can deploy my Limit Order Book in.
I found the tutorial series RKE2 the Hard Way that guides you through setting up a Kubernetes cluster with features similar to Rancher Kubernetes Engine 2 (RKE2).
To further spice things up I decided to use Digital Ocean Droplets as the VMs hosting my nodes. This meant that I couldn’t just blindly copy-paste the commands from the tutorial, I actually had to do some manual intervention in order to get it working. ;)
Regardless of my choice to host it on Digital Ocean it there were some issues with the steps in the tutorial that I had to figure out.
Issues
Certificates
Step 4 in Part 2 – Certificate Authority and TLS Certificates you are instructed to create the Kubernetes API server certificate request file as follows:
cat > kubernetes-csr.json << EOF
{
  "CN": "kubernetes",
  "hosts": [
    "127.0.0.1",
    "kubernetes",
    "kubernetes.default",
    "kubernetes.default.svc",
    "kubernetes.default.svc.cluster",
    "kubernetes.default.svc.cluster.local",
    "${NODE1_IP}",
    "${NODE2_IP}",
    "${NODE3_IP}",
    "node01",
    "node02",
    "node03"
  ],
  "key": {
    "algo": "rsa",
    "size": 2048
  },
  "names": [
    {
      "C": "US",
      "L": "Rancher",
      "O": "SupportTools",
      "OU": "Kubernetes The Hard Way",
      "ST": "SUSE"
    }
  ]
}
EOF
This CSR is then used to create a certificate:
cfssl gencert \
  -profile=kubernetes \
  -ca=ca.pem \
  -ca-key=ca-key.pem \
  -config=ca-config.json \
  -hostname="127.0.0.1,kubernetes,kubernetes.default,kubernetes.default.svc,kubernetes.default.svc.cluster,kubernetes.default.svc.cluster.local,${NODE1_IP},${NODE2_IP},${NODE3_IP},node01,node02,node03" \
  kubernetes-csr.json | cfssljson -bare kubernetes
Networking
At first I used the public IP addresses of the nodes. But I seemed to run into issues regarding firewall rules.
I later found out that Digital Ocean has something called Virtual Private Clouds or VPCs.
A Virtual Private Cloud (VPC) is a private network interface for collections of DigitalOcean resources. VPC networks are inaccessible from the public internet and other VPC networks, and traffic on them doesn’t count against bandwidth usage. You can link VPC networks to each other using VPC peering connections.
It turns out that all of my VMs were connected to a VPC with “private” IP addresses in the 10.110.0.0/20 range.
# Private IPs
10.110.0.3    node01
10.110.0.2    node02
10.110.0.4    node03
Switching to the private IP addresses did not solve all of my problems though.
In Part 8 – Installing Cilium CNI you are instructed to test the networking between pods as below
# Create a test namespace
kubectl create ns cilium-test

# Launch test pods
kubectl run ping-a --image=busybox -n cilium-test -- sleep 3600
kubectl run ping-b --image=busybox -n cilium-test -- sleep 3600

# Wait for pods to become ready
kubectl wait --for=condition=Ready pod/ping-a -n cilium-test
kubectl wait --for=condition=Ready pod/ping-b -n cilium-test

# Get the IP of ping-b
PING_B_IP=$(kubectl get pod ping-b -n cilium-test -o jsonpath='{.status.podIP}')

# Have ping-a ping ping-b
kubectl exec -n cilium-test ping-a -- ping -c 5 $PING_B_IP
Sometimes it would work and at other times it would not. This took quite a while to figure out.
After lots of debugging I learned that it would work when Kubernetes would schedule both pods, ping-a and ping-b, on the same node.
If Kubernetes scheduled them on different nodes pinging would fail.
Missing routes
I found out that my CNI-plugin of choice, Cilium did not add routes between the nodes. This meant that pods could only communicate if they were on the same node. (Caveat: there is absolutely a possibility that I might have misunderstood how to properly configure Cilium). The way I managed to fix the issue was by manually adding routes between the nodes.
Each node had a PodCIDR as follows 10.42.x.0/16 where x is in {0,1,2}.
node01 10.42.0.0/16
node02 10.42.1.0/16
node03 10.42.2.0/16
For each node I added routes for the for each of the PodCIDRs x via the respective private IP address y.
I.e for node01 I added routes for the subnets of node02, node03 via their respective private IP addresses.
# Adding route to PodCIDR x via IP y
ip route add 10.42.x.0/24 via 10.110.0.y
Example for node01.
# Routes for node01 to node02 and node03
10.42.1.0/24 via 10.110.0.2 dev eth1
10.42.2.0/24 via 10.110.0.4 dev eth1
Adding the respective routes for all nodes as above. Resolves the issue and allows pods to communicate with pods on other nodes.
Finally! All is good now right? No not quite?
Certificate issues
The next step after getting the networking between pods running is to setup DNS in the cluster.
DNS resolution is critical in a Kubernetes cluster because:
- It enables services to be discovered by their names rather than IP addresses
- It allows pods to find and communicate with other pods and services
- It provides a stable naming scheme even when IPs change due to pod rescheduling
CoreDNS runs a service kube-dns. In the tutorial cluster services are allocated IP addresses in the range 10.43.0.0/16, aka the ServiceCIDR
But since the CSR is missing an entry for the Kubernetes ClusterIP (10.43.0.1) I would encouter connection errors.
[INFO] plugin/ready: Still waiting on: "kubernetes"
[WARNING] plugin/kubernetes: Kubernetes API connection failure: \
Get "https://10.43.0.1:443/version": \
tls: failed to verify certificate: x509: certificate is valid for ... not 10.43.0.1
To solve this I had to go back to the Kubernetes API server certificate request file, kubernetes-csr.json adding 10.43.0.1 and then regenerate the certificates.
Working cluster
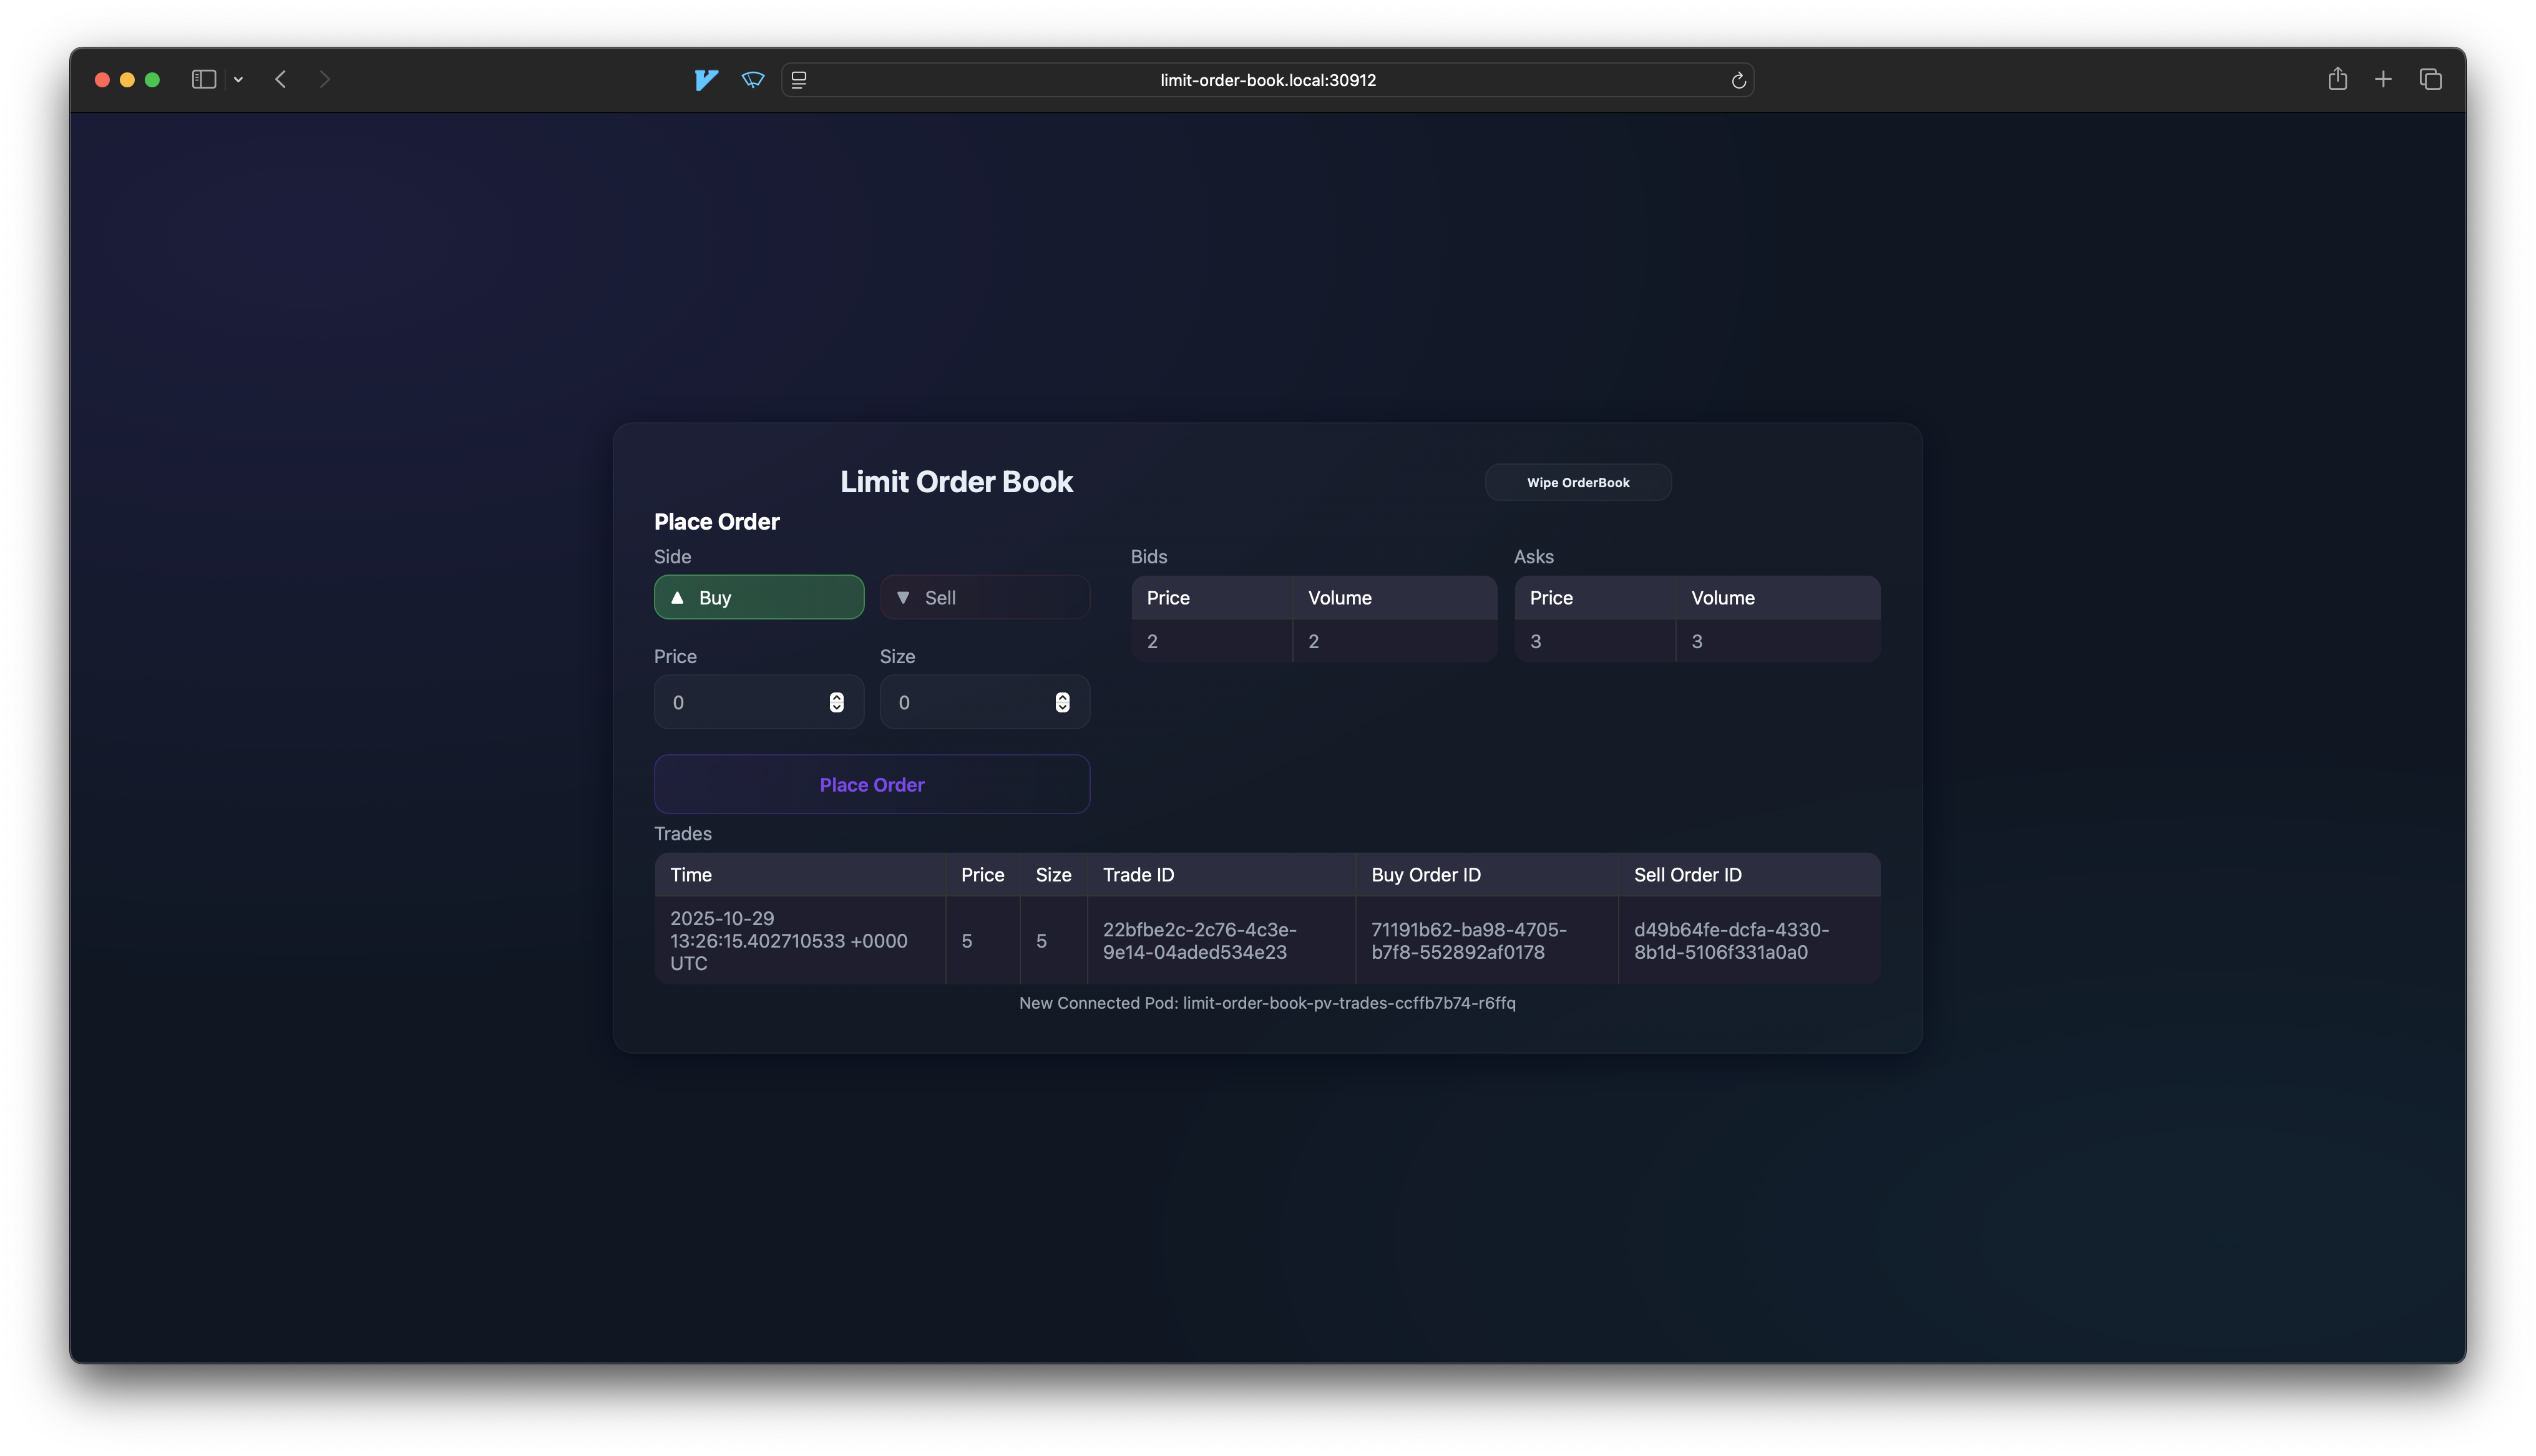
I finally had a working Kubernetes cluster! I deployed my Limit Order Book application in the cluster and added an ingress in order to be able to access it externally.
NAME                       CLASS   HOSTS                    ADDRESS          PORTS   AGE
limit-order-book-ingress   nginx   limit-order-book.local   <PUBLIC-IP>      80      12m
The next step was adding the public IP adress and the ingress hostname to my local computers /etc/hosts
#/etc/hosts
<PUBLIC-IP> limit-order-book.local
Et voilà, the Limit Order Book is now accessible from my local computer.
Summary
This was a fun (and at times frustrating) project. It was very satisfactory finally getting all of the pieces working together. I really enjoyed the process of setting up a kubernetes cluster from scratch, learning about all of the individual components and how they interact. It was the right amount of challenging in order to not get discouraged while still learning, rather than just blindly copy-pasting commands.
One of the trickier bits was that there were multiple issues at the same time, both regarding certificates and networking between pods and nodes. Especially since the pod-to-pod networking errors depended on node scheduling and would only show up sporadically.
I also enjoyed getting to play around with Digital Ocean Droplets. In a production scenario you would use a managed Kubernetes service, but this was a great learning setup.